by Lisa Larrabee
Some of my best exploration comes from my teaching demos. Not always the demos themselves, but the paintings afterwards. If I am teaching a technique, I tend to keep the demo pretty straightforward. This serves the purpose of teaching the process, but then I have a painting that I can play around with afterwards that I have no strong attachment to.
I demonstrated a technique on how to use a reductive process in layers. I discussed this process in a previous post that you can view here: A Reductive Process in Layers.
I love using my technique demos as a springboard for experimentation. It has been one of the ways I have learned to let go and have some fun with the process. I was taught to experiment in art school, but also to develop a plan through studies. Sometimes these are quick sketches and other times I use Photoshop to explore variations. If you are considering a change to your painting, it can be helpful to test out how it would look. If you want to completely change the direction of your piece, print out several pictures and try whatever you feel like before committing to the changes on your artwork.
In this example, I printed out a small photo of my painting on regular printer paper. I used a white pastel pencil to draw over the top. I find the process of drawing over a print can be more freeing and intuitive than manipulating the image in Photoshop. Soft pastels work great for changing colors and you can blend them to let the image show through or use them more opaquely to cover areas.
In contrast, my Photoshop version is stiff, but it served its purpose. I was not trying to create a finished image. I only wanted to plot out my shapes in advance. I am working to be more intuitive and responsive to my painting. Still, having a rough plan gave me more confidence to make a dramatic change.

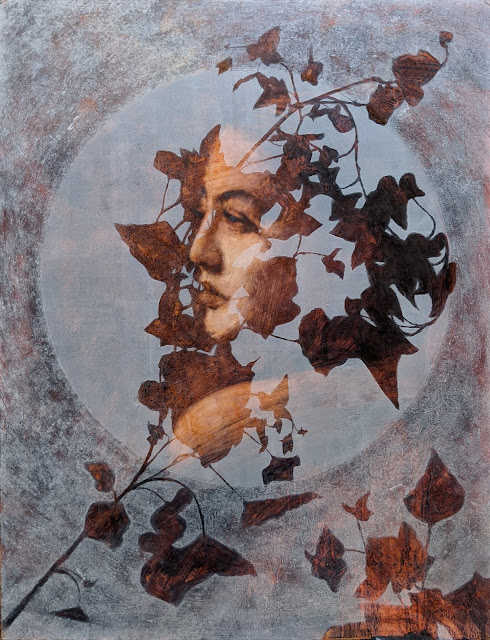
Above is a picture of my actual painting rather than a print or digital manipulation. I used titanium white paint mixed with cold wax medium applied very thinly with a brayer roller. Once I transferred the leaves, I used a brush, Q-tip and OMS to remove the paint in a similar method described in the reductive process from the demo stages. I experimented with rubbing away paint/cold wax outside of the circle using an old cloth once the paint had started to set up. I was excited to discover that I could remove the paint/cold wax so cleanly, but I didn't like how it felt stiff as though I had cut it out of vellum. I might want that effect in the future, so it's important to note the process because it could come in useful elsewhere.

After it dried, I went back in with paint and cold wax medium. I alternated between pallet knives, scrapers, rollers and a cloth to wipe away what I didn't want. Suddenly, the circle took on a more luminous quality like the moon. That gave me another direction to follow.
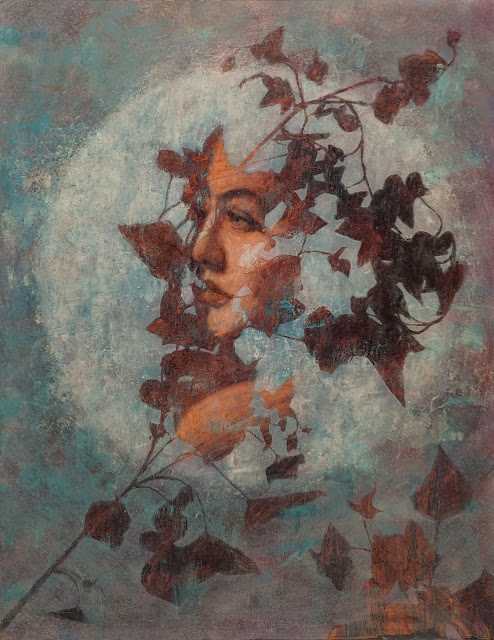
I decided to play up the idea of the moon by glazing transparent blues to darken the background and create more contrast. Sometimes it is great to have a clear plan to follow. Other times it is important to allow yourself to experiment, play and determine your direction from one stage to the next.
Art Challenge
When you feel like you already know the outcome and have done it before, change direction and try a whole new path.
- Choose a drawing or painting that you are willing to let go and transform.
- Print out small photos of your artwork onto plain paper and use paint or pastels to make bold changes to your copies before committing to change the original.
- Introducing a completely unrelated subject (like the ivy) can be a great way to shake yourself out of your routine process.
- Respond to each change and see where it goes. You choose the path forward as you go.
- Have fun!


